
Pumpkin Pie Cupcakes
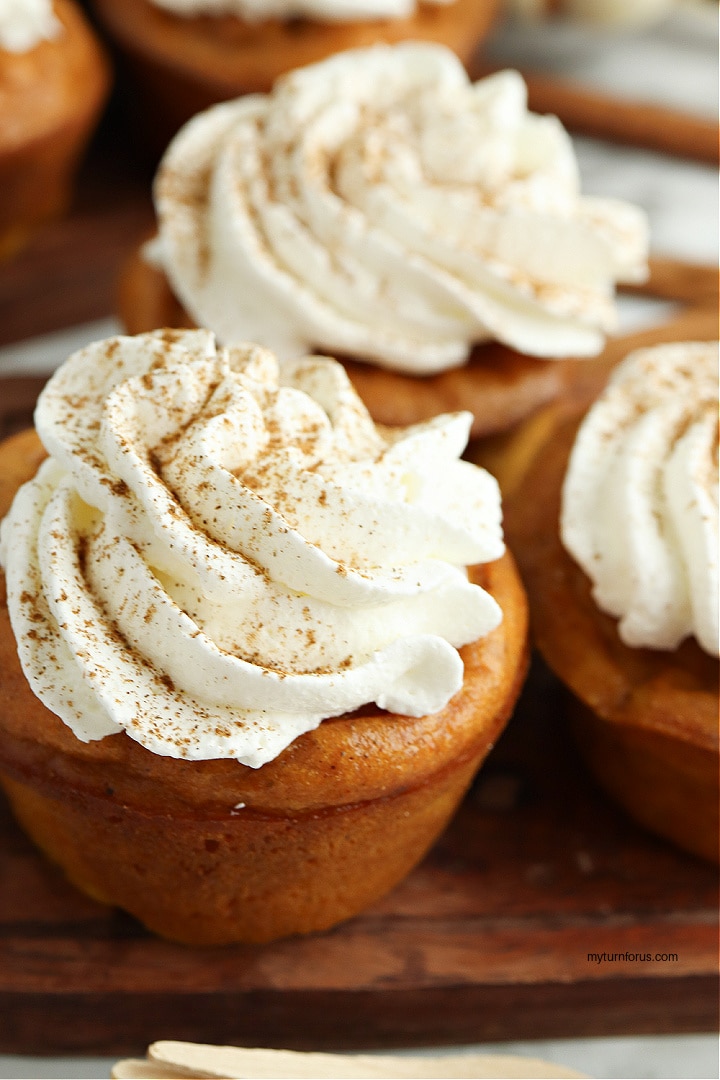
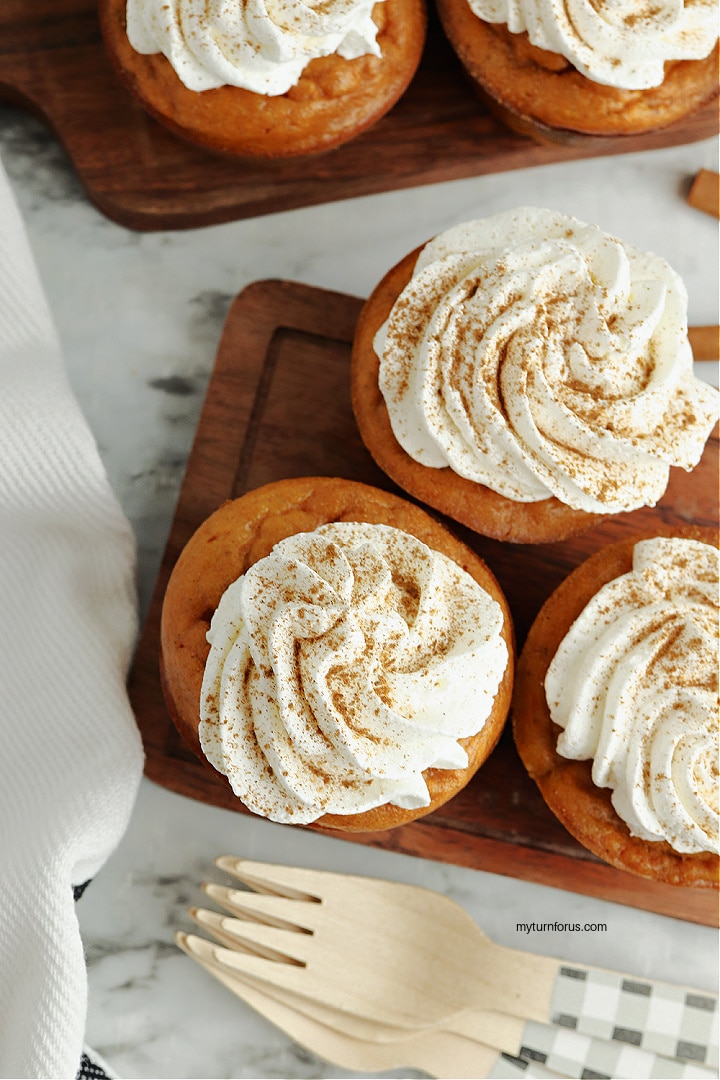
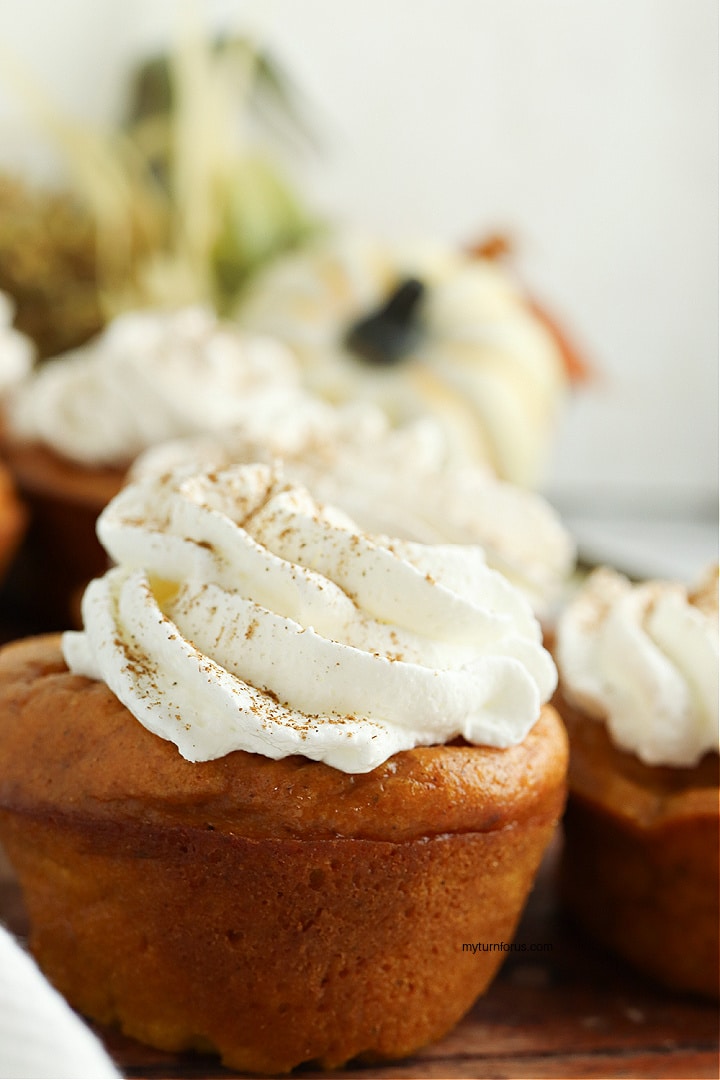
These Pumpkin Pie Cupcakes give you all the familiar flavor of pumpkin pie without making a crust. They are soft, creamy, and full of pumpkin and warm pumpkin pie spice, then topped with whipped cream just before serving.
I like these because they are easy to make ahead and already portioned into individual servings. They are not fluffy like a traditional cake cupcake. The texture is closer to a little crustless pumpkin pie, which is exactly what makes them so good.
Why You’ll Love These Pumpkin Pie Cupcakes
This pumpkin pie cupcakes recipe is a simple little fall dessert with all the flavor of pumpkin pie and very little fuss.
This post contains affiliate links, which means if you make a purchase, we might receive a small commission at no additional cost to you. Please read our Disclosure Policy.
- No pie crust to make or roll out.
- Simple pantry ingredients.
- Easy individual servings.
- They can be made ahead and chilled.
- Plenty of pumpkin and warm pumpkin pie spice flavor.
- Whipped cream makes them feel just like a little pumpkin pie.
If you enjoy easy pumpkin desserts, my Pumpkin Snickerdoodle Bars are another good one to keep nearby.
Key Ingredients
Pumpkin puree: I use plain 100% pumpkin puree, not pumpkin pie filling. Pumpkin pie filling already contains added sweeteners and spices, so it would change the recipe.
Sweetened condensed milk: This adds sweetness and helps give the cupcakes their creamy pumpkin pie texture. Be sure to use sweetened condensed milk and not evaporated milk.
Eggs: The eggs help the pumpkin mixture set as it bakes.
Flour: I use ¾ cup flour to give these enough structure to hold together while keeping that soft pumpkin pie texture.
Pumpkin pie spice: Two teaspoons give the pumpkin plenty of warm fall spice without overpowering it.
Equipment Needed
- Muffin tin
- Nonstick cooking spray
- Mixing bowls
- Hand mixer or stand mixer
- Cooling Rack
- Spice shaker, optional
How to make Pumpkin Pie Spice Cupcakes:
The complete recipe is in the recipe card below, but here is how I make them step by step.
Mix the Pumpkin Mixture
Preheat the oven to 350°F and generously grease a muffin tin with nonstick cooking spray.
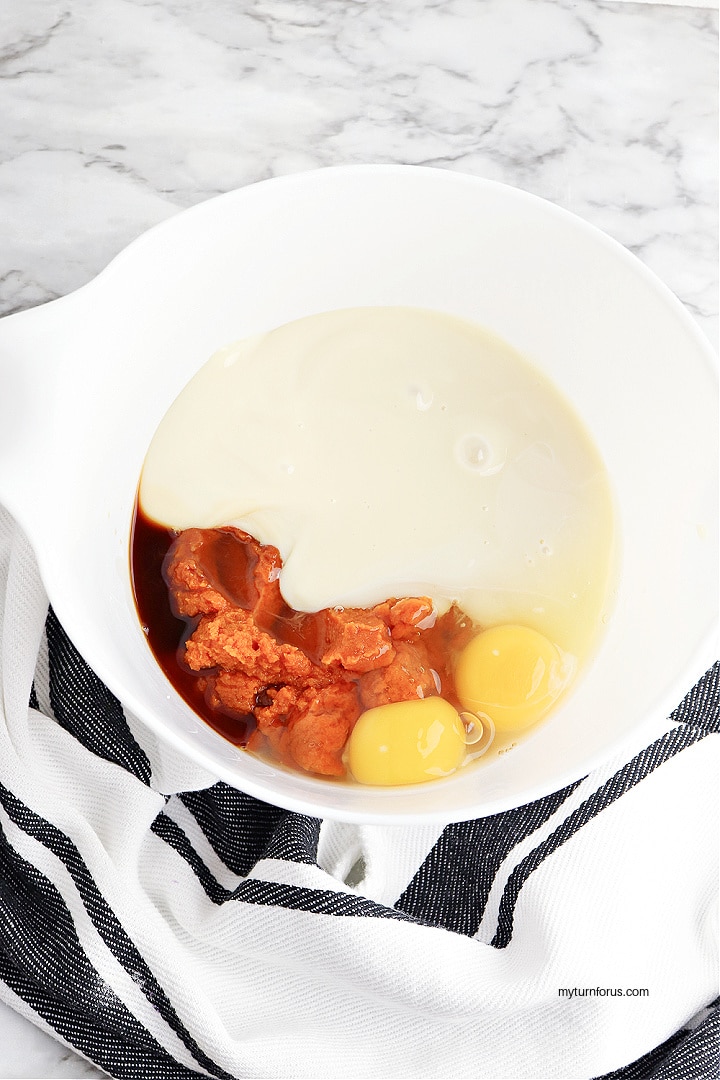
Add the pumpkin puree, sweetened condensed milk, and eggs to a mixing bowl. Beat until the mixture is smooth and evenly combined.
Add the Dry Ingredients
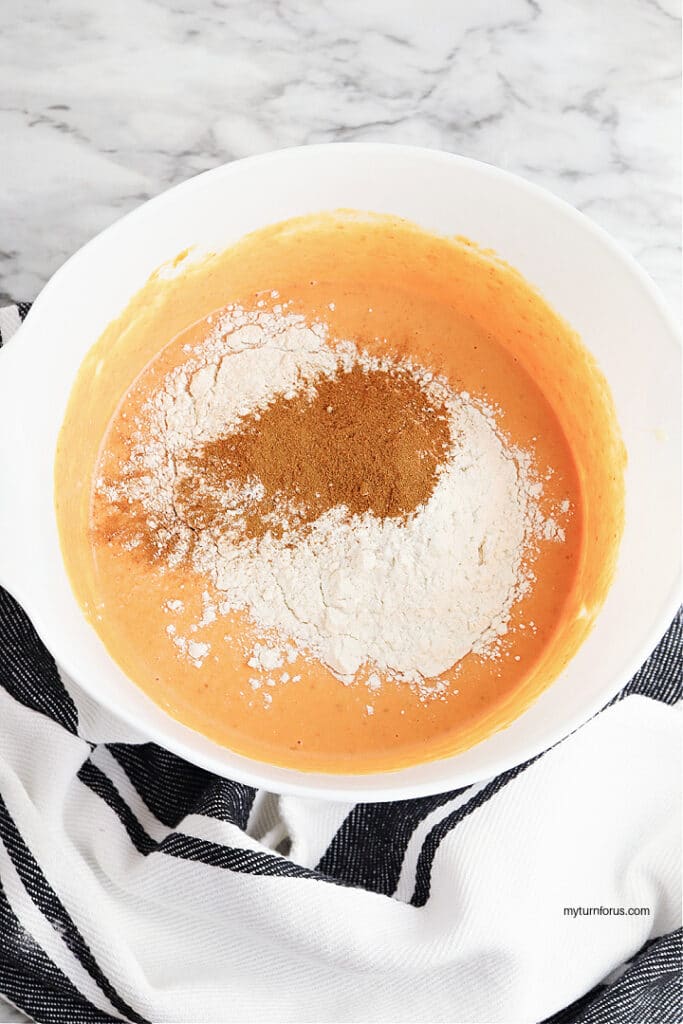
Add the flour, salt, baking powder, and pumpkin pie spice.
Beat just until everything is combined and you no longer see any streaks of flour. There is no reason to keep mixing once the batter is smooth.
Fill the Muffin Pan
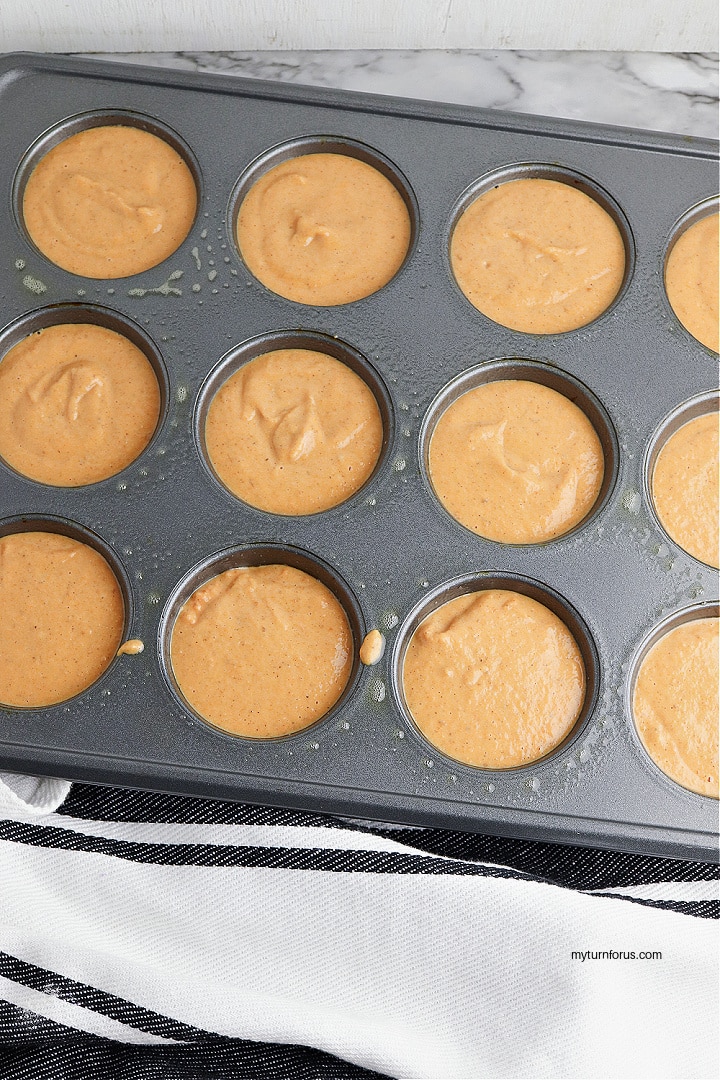
Spoon the batter into the prepared muffin cups, filling each about halfway.
Bake at 350°F for 20 to 25 minutes, or until the cupcakes are set and a toothpick inserted into the center comes out clean.
Cool and Chill
Allow the pumpkin pie cupcakes to cool completely in the muffin pan.
I don’t like to rush this part because they are softer while they are warm. Once they reach room temperature, carefully remove them from the pan and place them in the refrigerator for at least 30 minutes.
The chilling time helps them firm up and gives them more of that pumpkin pie texture.
Add the Whipped Cream
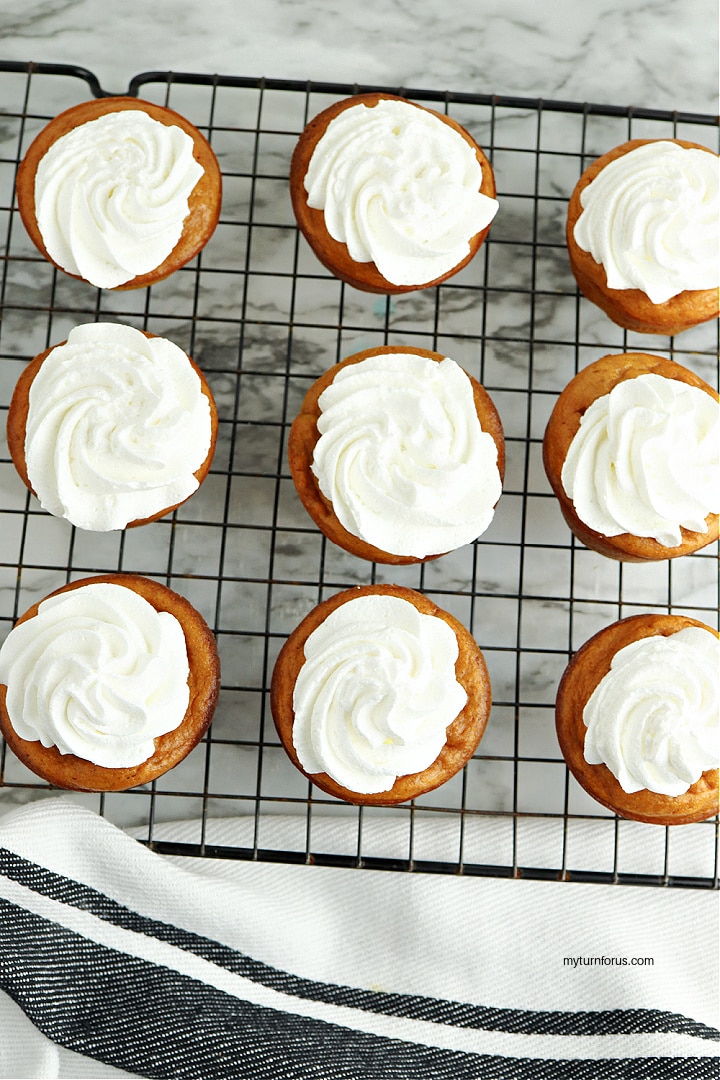
Top each chilled cupcake with whipped cream just before serving.
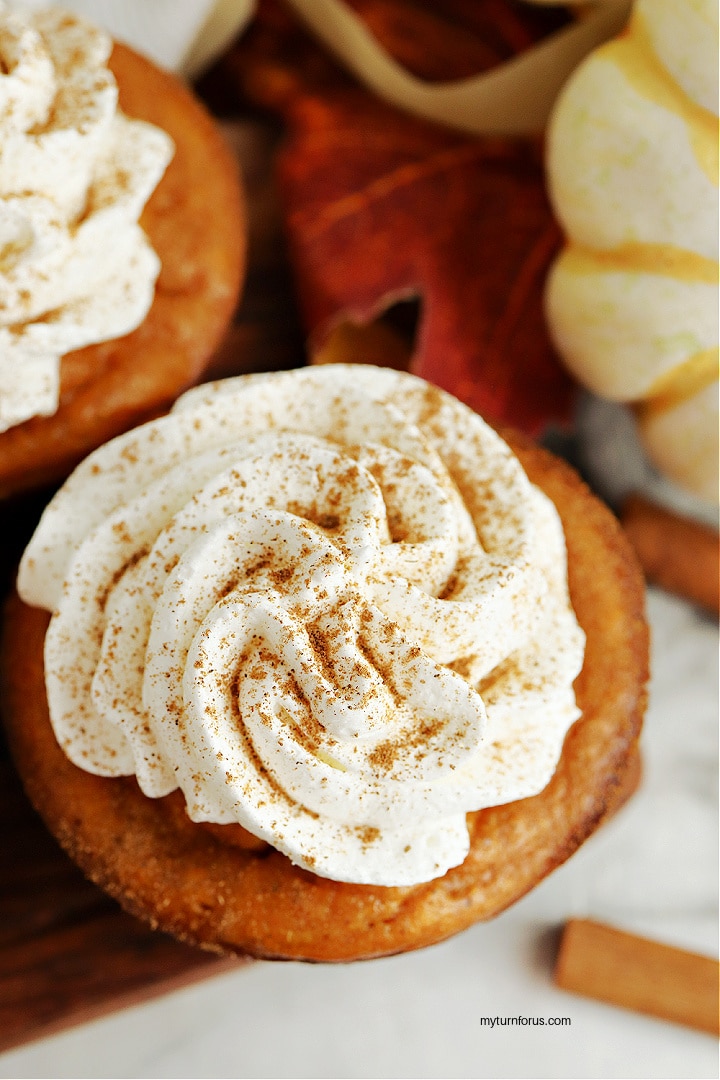
I like to use a spice shaker to add a light sprinkle of cinnamon over the top. You could also use a little pumpkin pie spice.
Expert Tips
There are only a few things I pay attention to with these, but they do make a difference.
- Use pure pumpkin puree. Pumpkin pie filling already contains sugar and spices and will change the recipe.
- Grease the pan generously. These are softer than regular cupcakes and can stick more easily.
- Let them cool completely. They are much easier to remove from the muffin pan once they have cooled.
- Don’t expect a fluffy cake cupcake. These are supposed to be soft and creamy, much more like pumpkin pie.
- Chill before serving. I prefer the texture after they have had time to firm up in the refrigerator.
- Add whipped cream at the last minute. It stays much nicer that way.
Easy Variations
I usually keep these simple because the pumpkin and spice do most of the work, but you can dress them up a little if you like.
Add chopped toasted pecans over the whipped cream for some crunch, or drizzle a small amount of caramel sauce over the top.
You can also dust them with cinnamon, pumpkin pie spice, or a little nutmeg.
For another creamy pumpkin dessert, try my Easy Pumpkin Cheesecake Bars.
How to Store Pumpkin Pie Cupcakes
Store the cooled cupcakes in an airtight container in the refrigerator for up to 4 to 5 days.
I prefer to store them without the whipped cream and add it right before serving so the topping stays fresh.
These are also easy to make a day ahead. In fact, I like the texture even better once they have been thoroughly chilled.
Frequently Asked Questions
A little settling is normal with this recipe. These contain much more pumpkin and moisture than a traditional cupcake, so they may rise slightly in the oven and then settle as they cool.
I wouldn’t. Pumpkin pie filling already contains added sugar and spices, which would change both the sweetness and flavor of the cupcakes. Use plain pumpkin puree for this recipe.
The pan may not have been greased quite enough, or the cupcakes may still be too warm. Let them cool completely before carefully loosening the edges and removing them.
You can eat them at room temperature, but I prefer them chilled. The refrigerator helps them firm up and gives them a texture that is much closer to pumpkin pie.
More Pumpkin Recipes
If you are in the mood for more pumpkin baking, try my Pumpkin Pecan Roll Cake, with its cream cheese filling. For something richer, this Pumpkin Cheesecake with Oreo Crust is another fall favorite. You may also like my Easy Pumpkin Cheesecake Bars and Pumpkin Snickerdoodle Bars.
If you make these Pumpkin Pie Cupcakes, I would love to hear how they turned out. Leave me a comment and a rating star below, and be sure to tag me on Facebook if you share a photo.
🥣 Recipe

Equipment
- Cooking Spray
- Spice Shaker Optional
Ingredients
- 1 15 ounce can pumpkin puree
- 1 14 ounce can sweetened condensed milk
- 2 eggs
- ⅔ cup flour
- ½ teaspoon salt
- 1 teaspoon baking powder
- 2 teaspoons pumpkin pie spice
- Whipped cream for topping
Instructions
- Preheat the oven to 350°F. Generously grease a 12-cup muffin tin with nonstick cooking spray.
- Add the pumpkin puree, sweetened condensed milk, and eggs to a large mixing bowl. Beat until smooth.
- Add the flour, salt, baking powder, and pumpkin pie spice. Mix just until combined.
- Spoon the batter into the prepared muffin cups, filling each about halfway full.
- Bake for 20 to 25 minutes, or until the cupcakes are set and a toothpick inserted into the center comes out clean.
- Allow the cupcakes to cool completely in the pan.
- Carefully remove them from the muffin tin and refrigerate for at least 30 minutes.
- Top with whipped cream just before serving and sprinkle with cinnamon, if desired.
Notes
- Use 100% pumpkin puree, not pumpkin pie filling.
- These cupcakes are softer and creamier than traditional cake cupcakes, with a texture closer to crustless pumpkin pie.
- Store them in an airtight container in the refrigerator for up to 4 to 5 days. For best results, add the whipped cream just before serving.
Nutrition
Don’t forget to save these pumpkin spice cupcakes to Pinterest