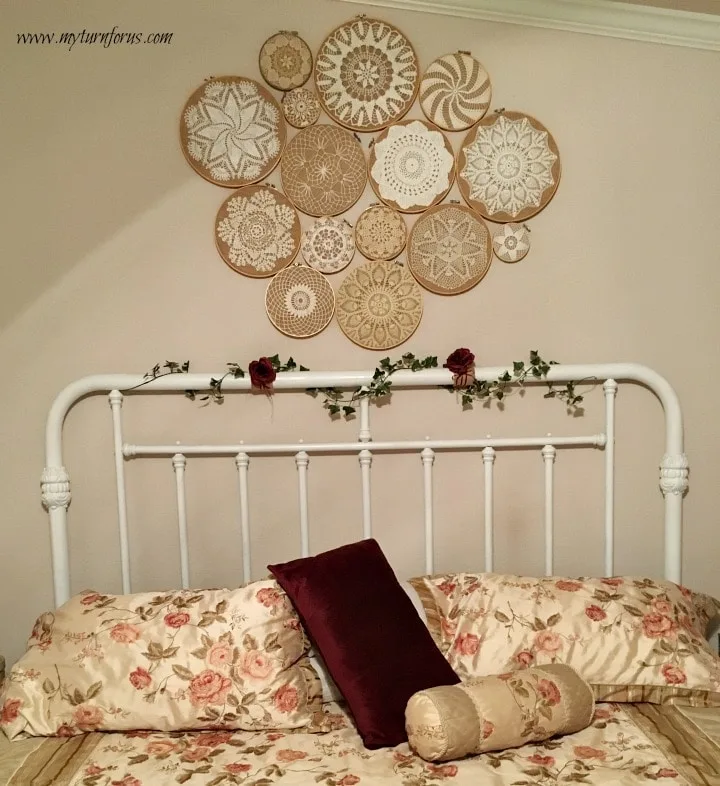
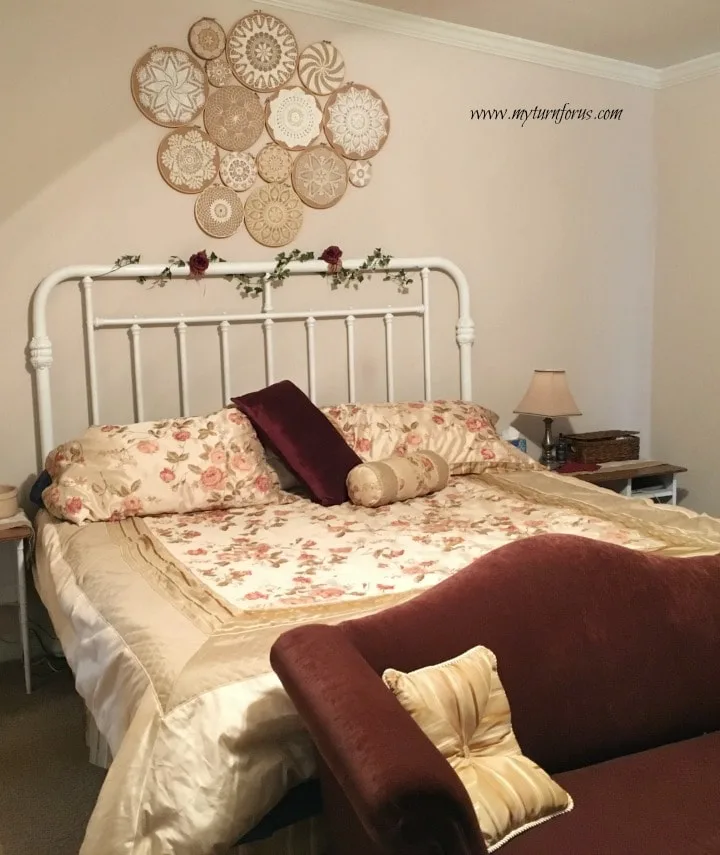
Since I have been undecided concerning the direction I wished to take in decorating my Master bedroom here on the ranch, the walls were still bare until just recently!
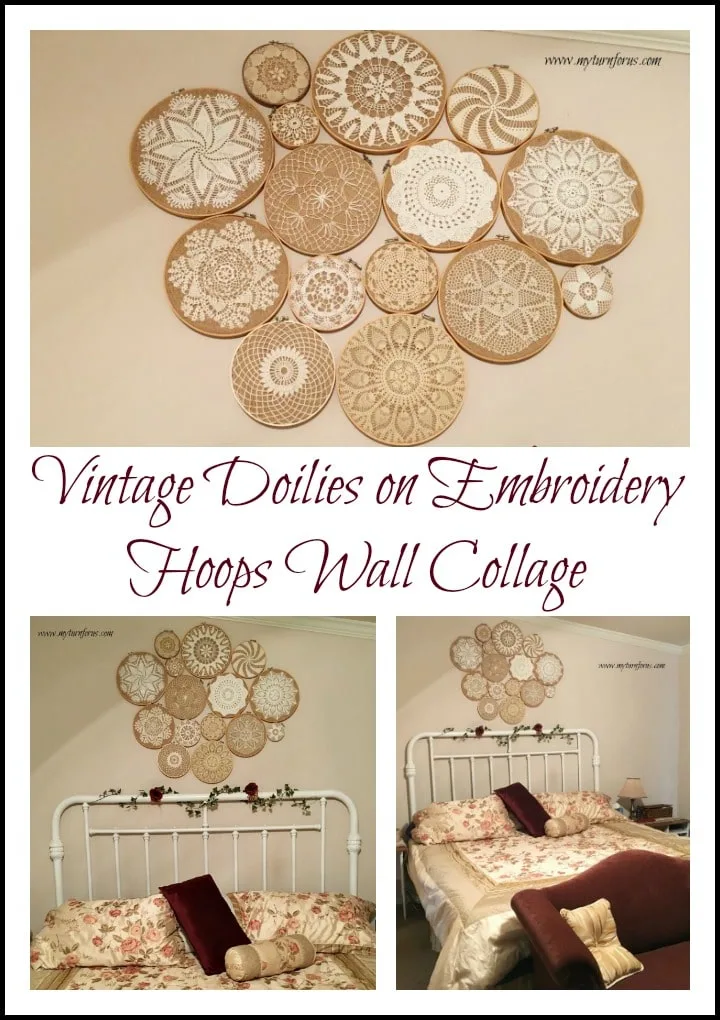
I visualized something totally different from most ranch-houses but still something that reflected my idea of a charming vintage bedroom. My sweet (and very talented) sis-in-law had found a picture of a collage of numerous wooden embroidery hoops encircling vintage crochet doilies. The hoops were hung from a branch that would be perfect hanging behind a bed! After she completed her gorgeous collage she sweetly passed a basket of various wooden embroidery hoops to me that she didn’t need. (no worries, as soon as she gets her collage hung in the guesthouse at her ranch, I’ll ask for pictures)
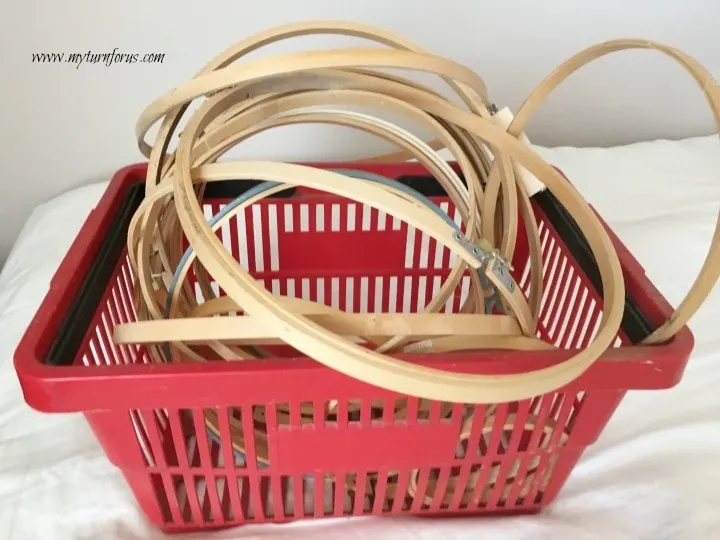
Any way, we started with this basket of leftover hoops that my mother-in-law had collected over the years. And then we were able to find numerous vintage hand crocheted doilies in the local antique stores in several sizes. We found that one can usually buy these doilies anywhere from $1 to $4 per doily!
Some of the doilies were not quite big enough for the frames or they were just too large and some of the intricate work would be lost if they were cut to size so we decided to cover the hoops with burlap. I had several yards of burlap left over from another project that would be perfect as a backing to display the doilies on the frames.
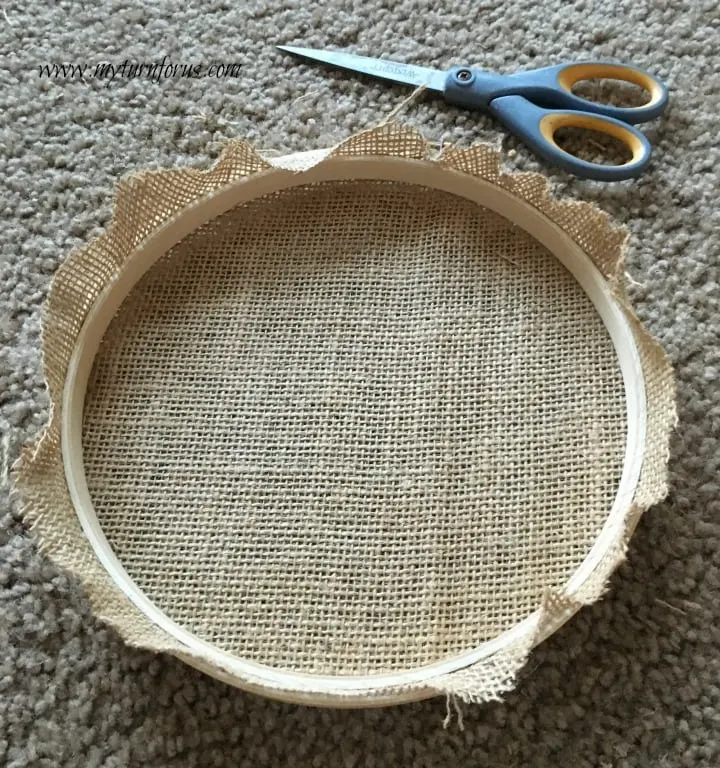
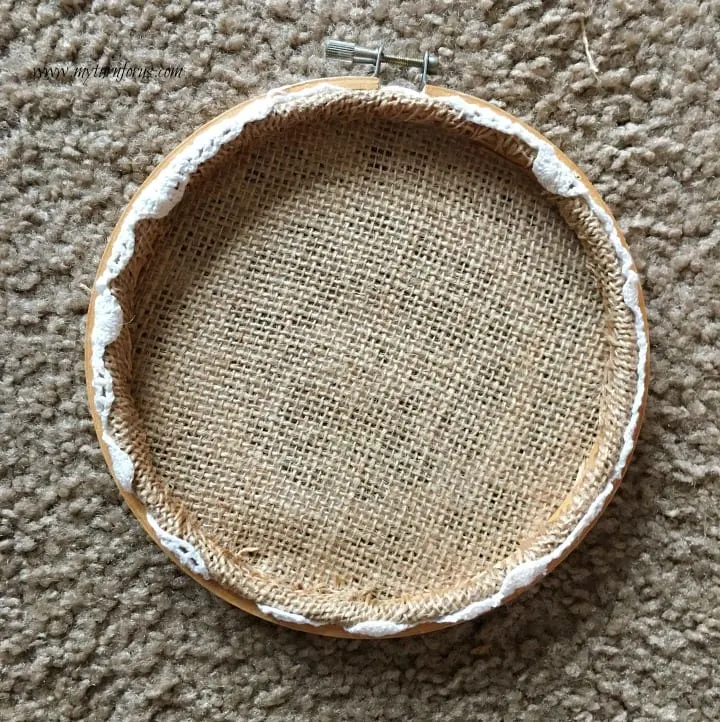
We placed the burlap on the hoop and trimmed it with just enough burlap to fold down over the inside of the frame.
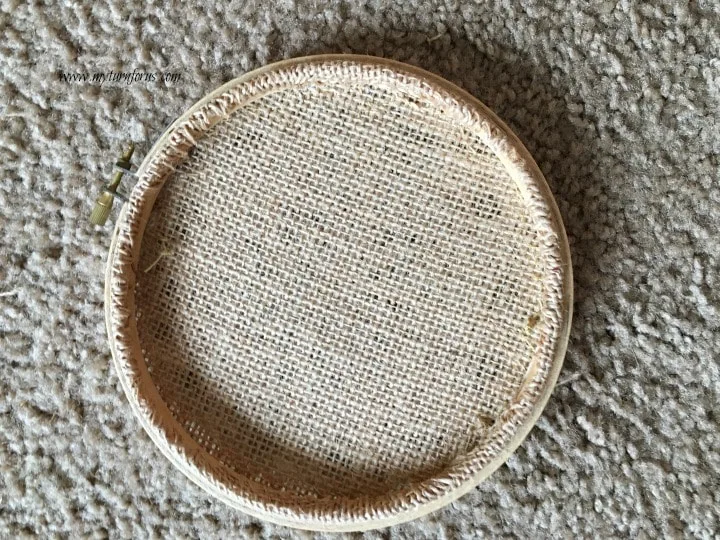
We used crafters glue to carefully bend and seal the leftover burlap to the inside of the embroidery frame. It did take a little time to get the leftover burlap to stick neatly since burlap is so coarse. We continued to work on it, adding more glue as needed and used wet paper towels to press the glued burlap to the frame. It just took a little patience and this was the neat result.
The doily was then tacked or sewed to the front of the burlap
For the doilies that were the correct size, we put the doily on top of the burlap and then applied the hoop over both layers. Using the craft glue, the burlap and the doily were neatly glued down to the inside of the hoop. We did need to trim or cut some of the doilies to fit but the glue will keep the doilies from unraveling.
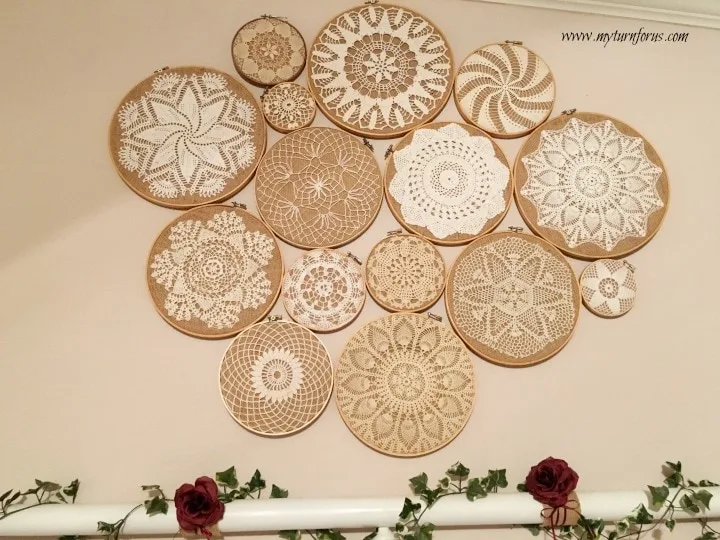
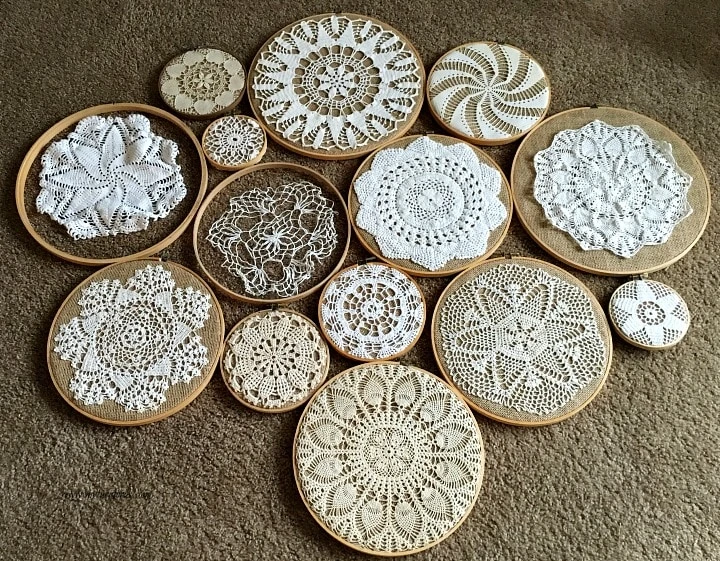
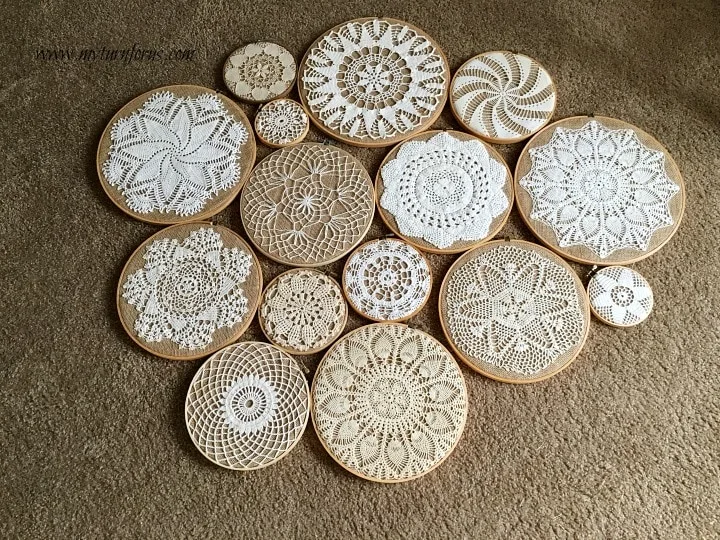
We began assembling the collage by laying the hoops out on the floor and playing with the pattern placement. We ended up buying a couple more small frames to fill in our collage. You can see where we have a few of the doilies not attached at this point so we could play with the sizes and determine how many more were needed to get the result we wanted.
After we had our placement to our liking, we had to attach each hoop to another in a manner that we could hang the entire collage.
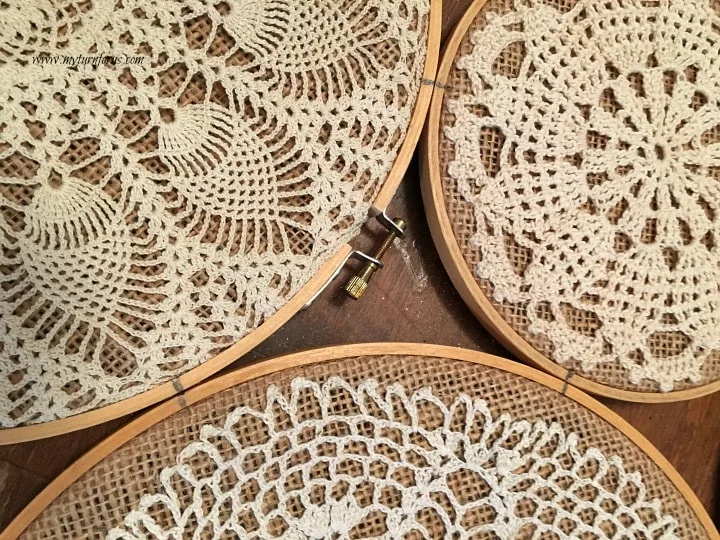
We made sure the hoops touched each other on at least three sides and using a pencil, we marked each spot. We worked starting at the top with two or three at a time.
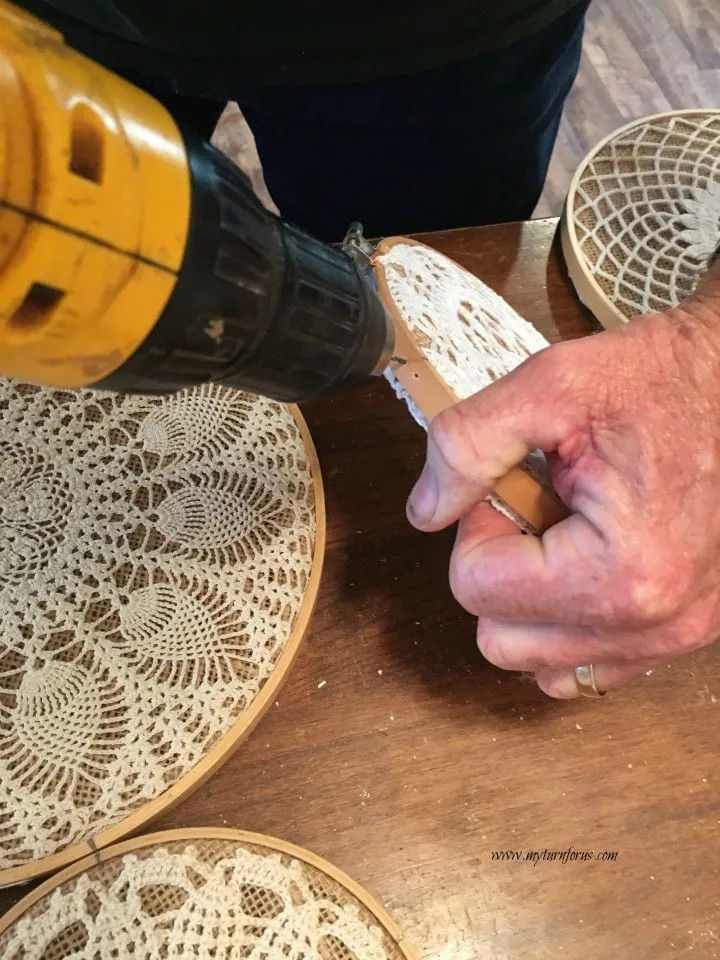
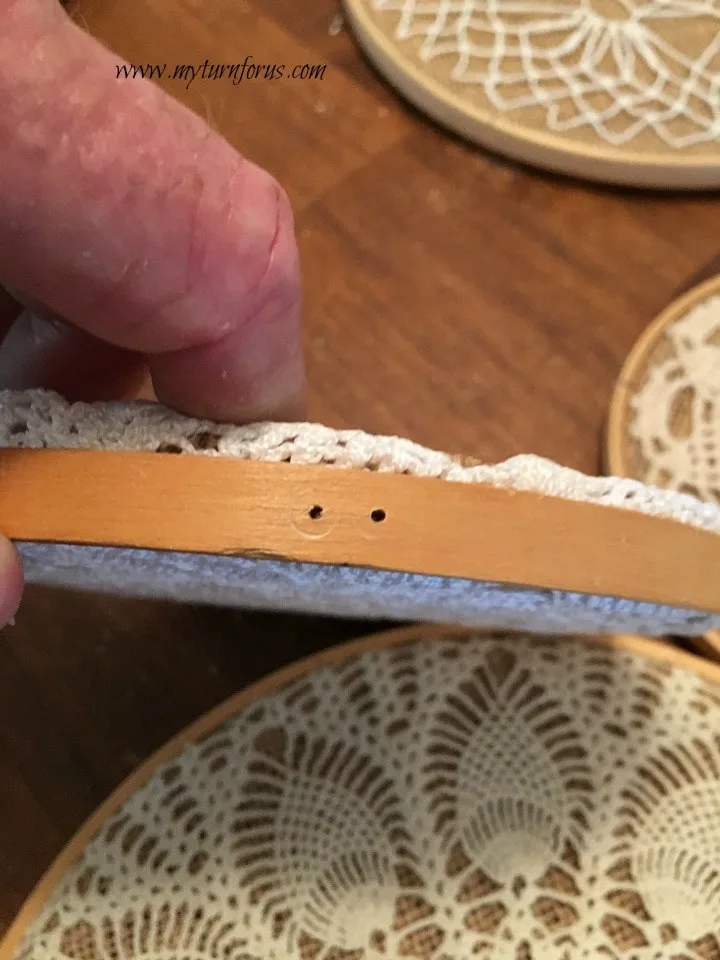
We drilled two tiny holes, one on each side of every penciled mark with a 1/16″ drill bit.
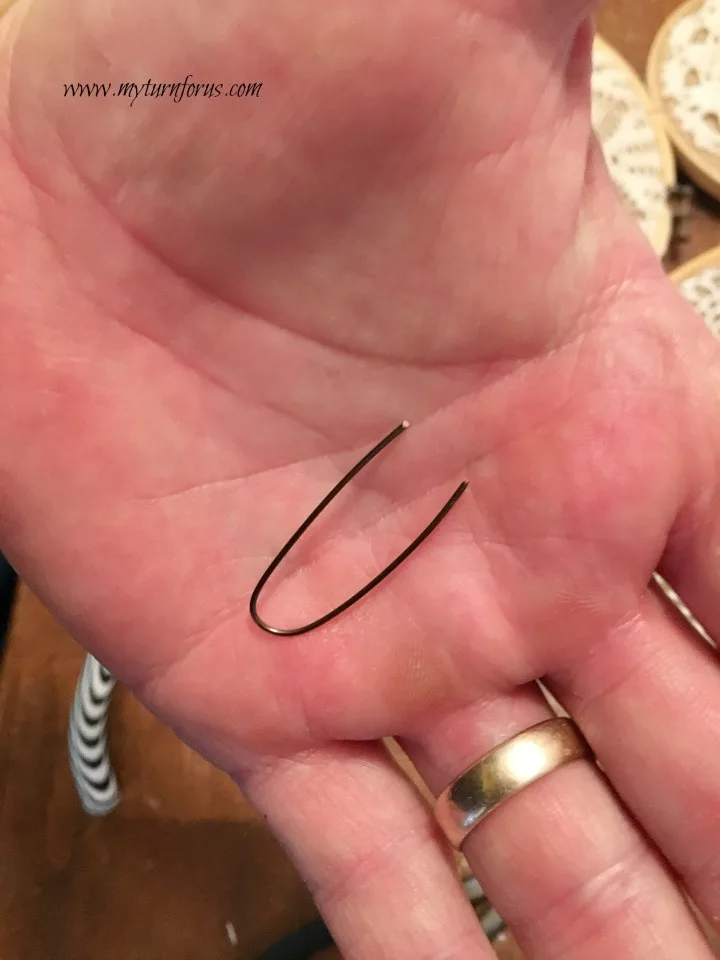
Cut a piece of jewelry wire about 3 or 3 1/2 inches long and bend it into this shape.
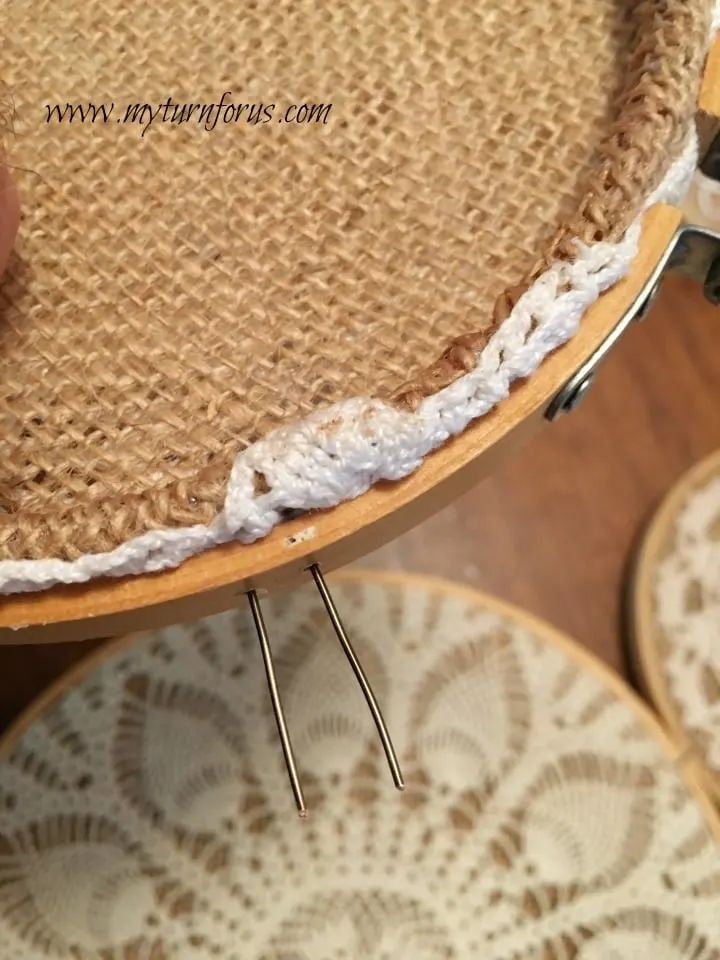
Slide the wire into the holes of the first hoop and then slide it into the corresponding holes of the next hoop and twist the two ends of the wire to secure the hoops together. We had to carefully flip each section of the collage back and forth as we were attaching the wires, checking each time that we did not lose our arrangement pattern.
We hung the collage using screws and the metal portion of the hoops. We attached it in several places to insure it would hang at the desired level and angle.
This could be made in different arrangements and sizes but ours measures about 46 inches wide and 38 inches tall. (FYI-This is a King size bed)
Our Supplies and Tools used for this project:
3- 12″ wooden embroidery hoops
5- 10″ wooden embroidery hoops
2- 8″ wooden embroidery hoops
3- 6″ wooden embroidery hoops
2- 4″ wooden embroidery hoops
15 vintage doilies in various sizes to fit the hoops
2 yards of burlap
craft glue
jewelry wire
screws to mount collage on wall
Drill and 1/16″ drill bit
needle and thread to tack or sew doilies to the burlap frames
amzn_assoc_placement = “adunit0”;
amzn_assoc_search_bar = “true”;
amzn_assoc_tracking_id = “mytufous-20”;
amzn_assoc_ad_mode = “manual”;
amzn_assoc_ad_type = “smart”;
amzn_assoc_marketplace = “amazon”;
amzn_assoc_region = “US”;
amzn_assoc_title = “Evelyn’s suggestions”;
amzn_assoc_asins = “B002LNBSDC,B005GOM3VO,B002RLR0EY,B009K4MTII”;
amzn_assoc_linkid = “46a46c3f82cdae20a237fdc258393cb1”;
Other Projects you might enjoy:



Varsha
Saturday 5th of March 2022
Hie this is such a lovely work..very beautiful. I have many doilies n plan to execute something similar. I would like to know how you maintain the doilies. How are they cleaned??
Evelyn
Sunday 6th of March 2022
I only dust them using canned air. It blows all the dust off.
Lauraine
Saturday 30th of March 2019
The doily display is so charming and looks great in your bedroom. I am playing around with doilies myself, making cement baskets and planters. You're right about finding the vintage doilies at a good price and fun to do something unique with them.
Evelyn
Monday 1st of April 2019
I would love to try my hand at the cement planters with dollies. How fun!
JENNIFER mayes
Thursday 7th of July 2016
What a lovely way to display doilies!
Zyprezz
Friday 27th of May 2016
Love it - it looks beautiful. And great tutorial - thanks! Already pinned :)
Jamie Sherman
Tuesday 17th of May 2016
I love how this turned out - and what a great way to display those old doilies!!