How to make DIY glitter easter eggs for decorating. These glitter and mod podge easter eggs are super easy to make and kids will love this craft. Also we have an alternative to make these glitter eggs edible.
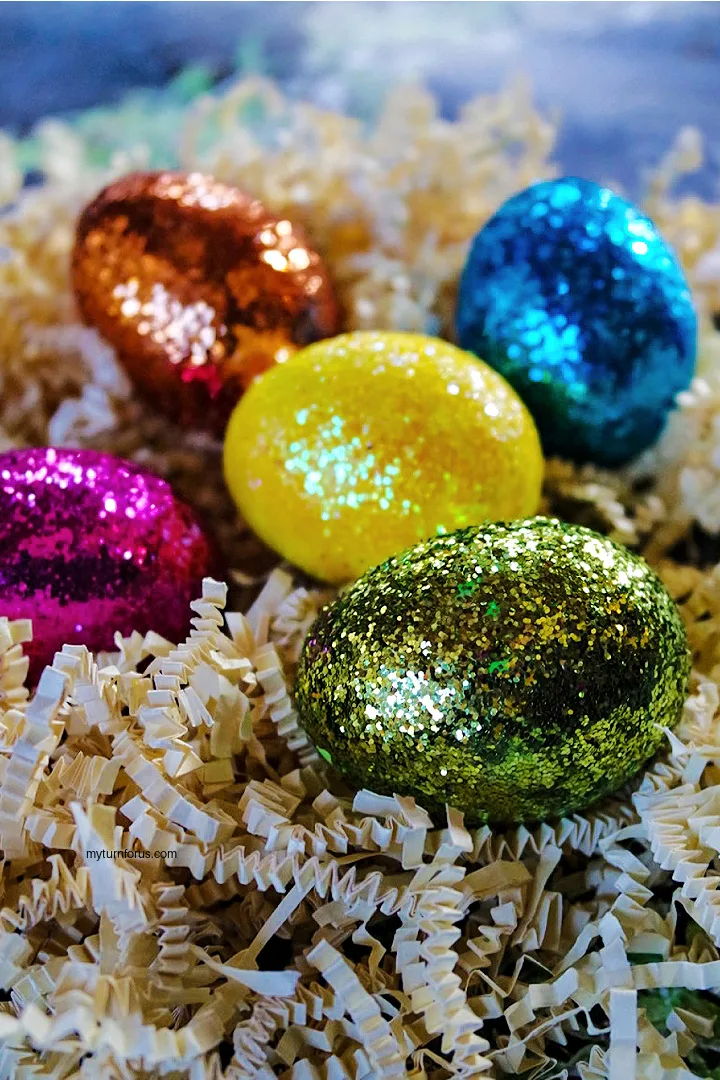
These DIY Glitter Easter eggs are totally the bomb! These sparkly eggs make beautiful additions to your Easter decor. But this is also a fun craft for the little ones.
This post contains affiliate links which means if you make a purchase we might receive a small commission at no additional cost to you.
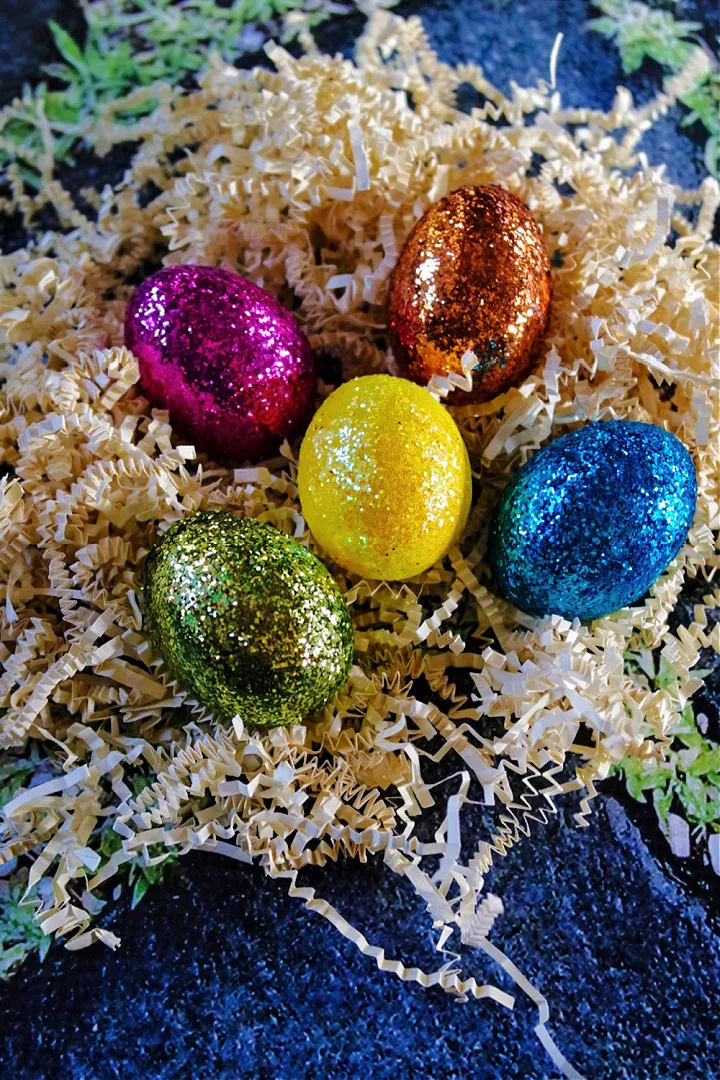
They are other choices besides real eggs for these so they are safe for decorations year after year. As long as they are not real eggs and are stored carefully they should last for years. See below a list of eggs that can be used for these DIY Glitter Eggs.
What Eggs to use for these Glitter Eggs:
We used hardboiled eggs for this craft but you could use any of the following.
- Hardboiled Eggs
- Empty Egg Shells, (See how to blow out an egg leaving the hollow shell intact)
- Wood Egg
- Plastic Eggs
- Paper Mache Eggs
- Styrofoam Eggs
Are Glitter Eggs edible:
We don’t have an issue eating these eggs but they need to be peeled and washed very well. Mod podge is not considered food-safe but it is non-toxic so it can be used on children’s toys. But glitter should never be ingested.
NOTE: The alternative is to make DIY Edible Glitter Eggs. Paint the eggs with the Bakers Edible Glue and sprinkle with Edible Glitter.
What you need to make Glitter Mod podge Easter eggs:
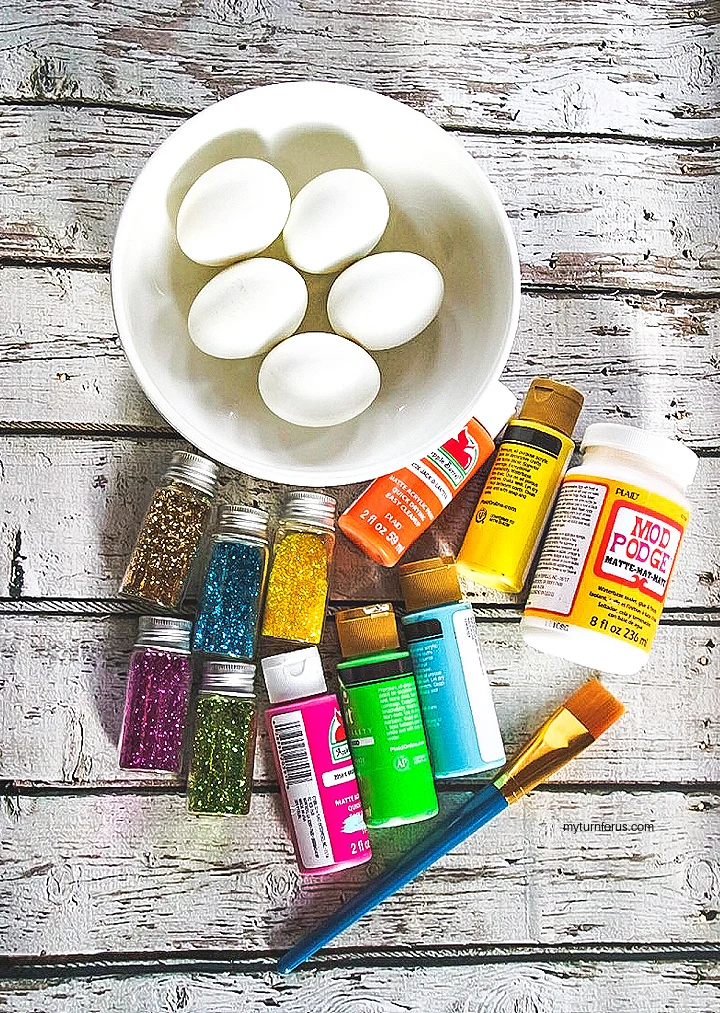
Supplies Needed:
- White hard-boiled eggs
- Brushes
- Paint Tray
- Acrylic paint, same colors as glitter
- Glitter, same colors as paint
- Plastic cups (one cup for each color of glitter used)
- Mod Podge or White Elmer’s Glue
How to make glitter easter eggs:
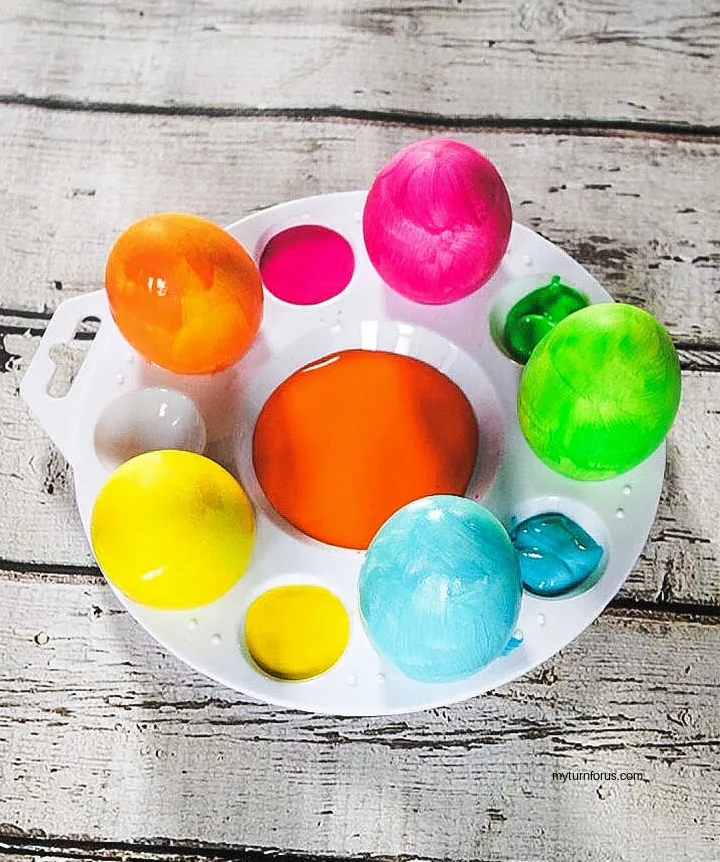
Make sure you are starting with dry, hard boiled eggs that are cooled completely. Setup your paints with coordinating glitter colors. (ie: blue paint with blue glitter). Paint your eggs making sure the eggs are fully covered with paint.
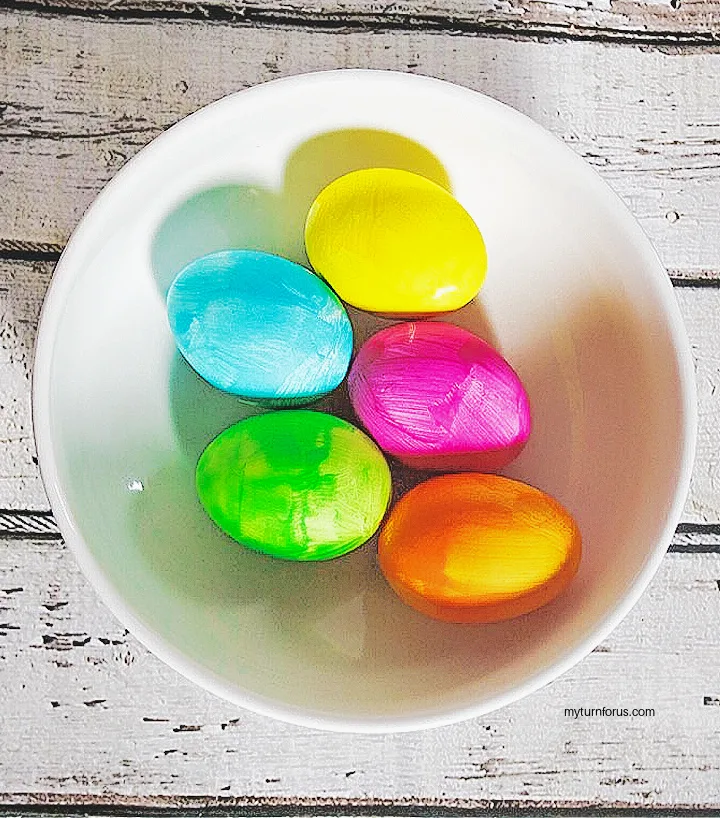
Allow your Eggs to dry completely. Then place each color of glitter in a separate plastic cup. Use a paint brush apply a nice thick coat of ModPodge (or glue, if using) completely covering an egg.
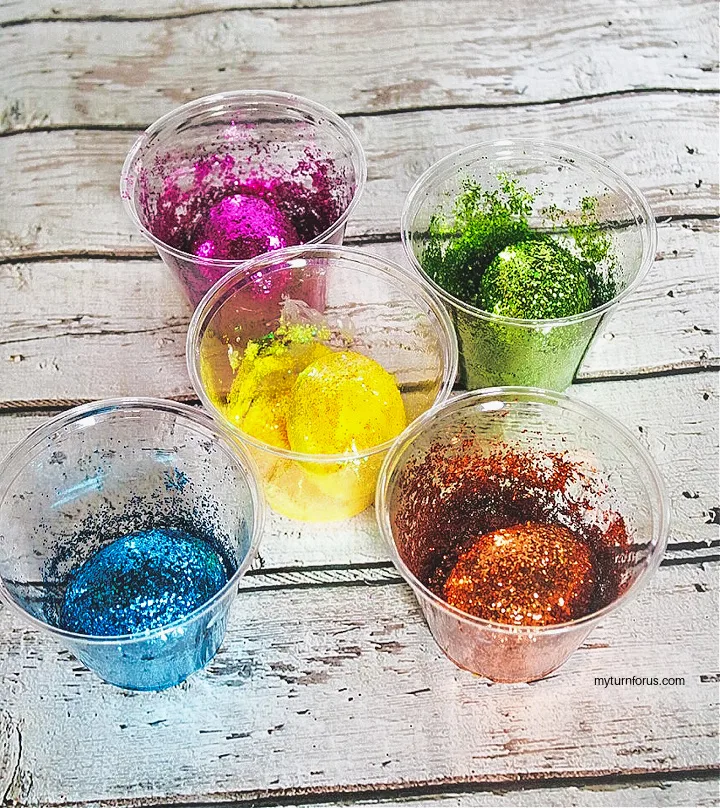
Put your egg into the plastic cup with the corresponding color of glitter. Then gently shake the cup around to evenly coat your egg. Repeat with all the other eggs.
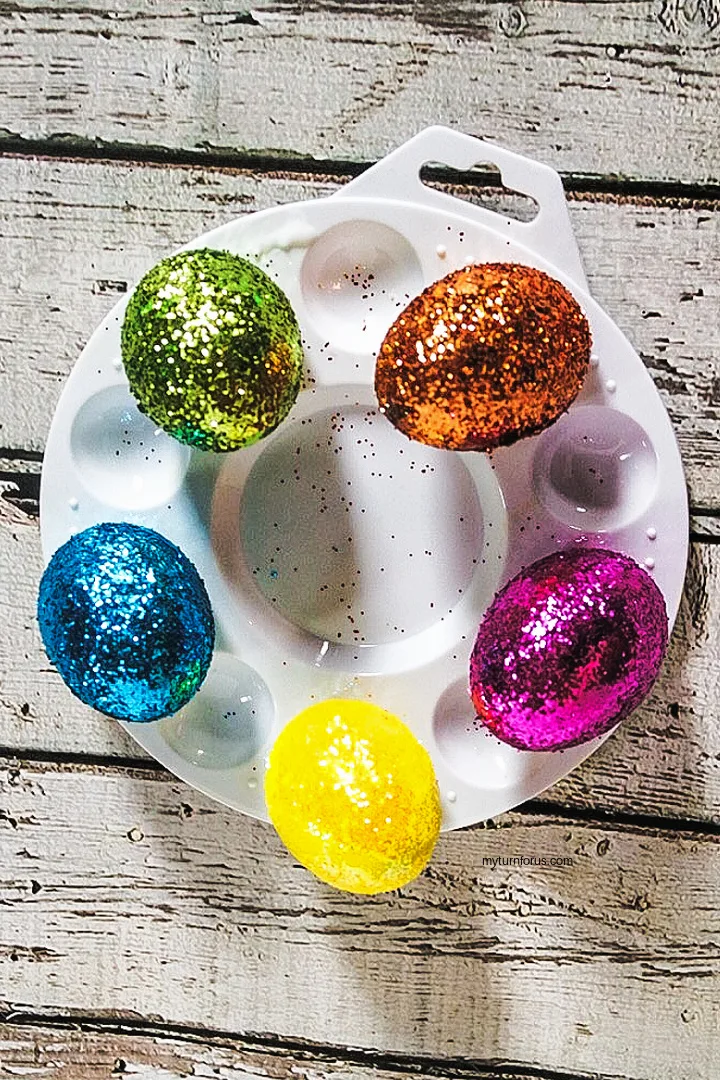
Allow the glitter eggs to dry for an hour. Now you can use them for all your Easter activities and Decorating (if using fake eggs).
NOTE: Remember if boiled eggs are left out of the refrigerator for more than 2 hours then should not be eaten. But if they are refrigerated they can last up to 7 days per the USDA.

Whether you make glitter eggs edible or not this is a fun craft for kids. We are planning on making several with wooden eggs to have plenty of glitter eggs for our Easter Decorations and tablescapes.
Other Easter Crafts
Click HERE to save this Glitter Easter Craft to Pinterest
Glitter Easter Eggs
Equipment
- Plastic Cups one cup for each color of glitter used
- Brushes
Ingredients
- White hard-boiled eggs
- Acrylic paint same colors as glitter
- Glitter same colors as paint
- ModPodge or White Elmer’s Glue
Instructions
- Make sure you are starting with dry, hard boiled eggs that are cooled completely. Setup your paints with coordinating glitter colors. (ie: blue paint with blue glitter). Paint your eggs making sure the eggs are fully covered with paint.
- Allow your painted Easter Eggs to dry completely. Then place each color of glitter in a separate plastic cup. Use a paint brush apply a nice thick coat of ModPodge (or glue, if using) completely covering an egg.
- Put your egg into the plastic cup with the corresponding color of glitter. Then gently shake the cup around to evenly coat your egg. Repeat with all the other eggs.
- Allow the glitter eggs to dry for an hour. Now you can use them for all your Easter activities and Decorating (if using fake eggs).
For DIY Edible Glitter Eggs. Paint the eggs with the Bakers Edible Glue and sprinkle with Edible Glitter.
Notes
