A DIY indoor herb garden kit with grow light to grow herbs on your tabletop. Make the best indoor garden kit for fuss free fresh herbs year around.

Even if you do not have much space you could still have fresh herbs all year long. Or if time is an issue this easy DIY indoor herb garden kit is set up so it’s totally fuss free.
This post contains affiliate links which means if you make a purchase we might receive a small commission at no additional cost to you.
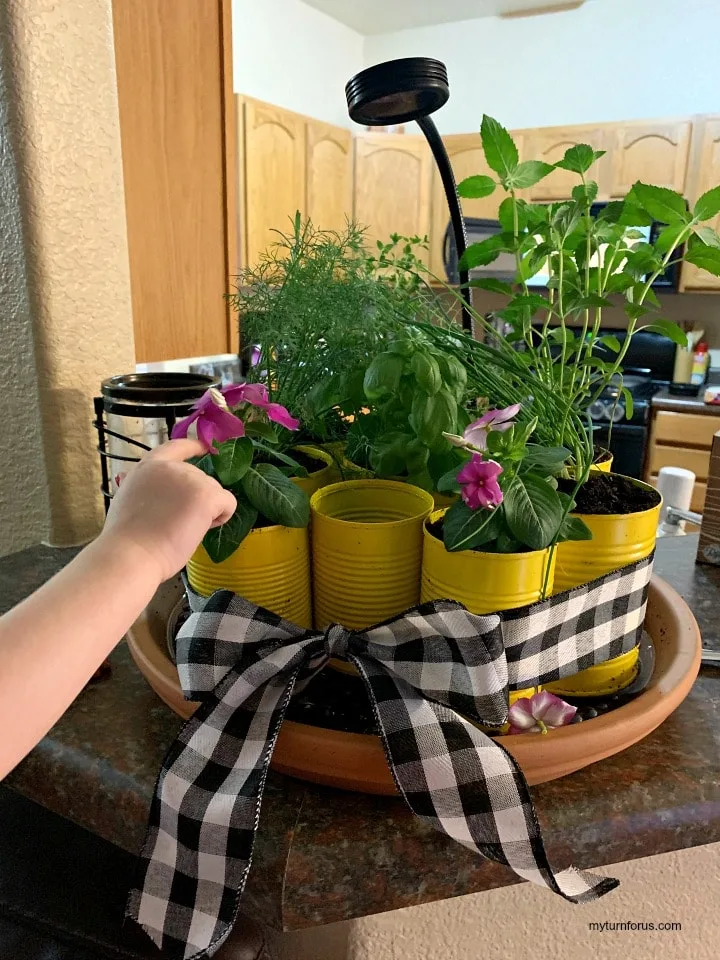
This indoor herb garden is a great project for little ones to get involved in growing herbs. And adding a few flowers always makes it more fun for them and you.
What you will need for this DIY indoor herb garden kit with grow light:
Supplies
- 16″ terra cotta saucer (we found ours at Lowes Hardware store)
- Glass Gems or Marbles
- 8 or 9 empty food cans (we used 6-28oz sizes and 3- 14 oz sizes)
- Spray Paint in color of your choice (we used Canary Yellow)
- Good Potting Soil
- Choice of Herb plants such as basil, oregano, chives, thyme, parsley, dill, and Rosemary. And maybe a couple small flowers.
- Wide Ribbon (we used Buffalo Plaid)
- Small Herb Scissors
- Herb Plant Markers
- Small Grow Light that clips with a timer
Equipment Needed:
How to assemble the best indoor garden kit:
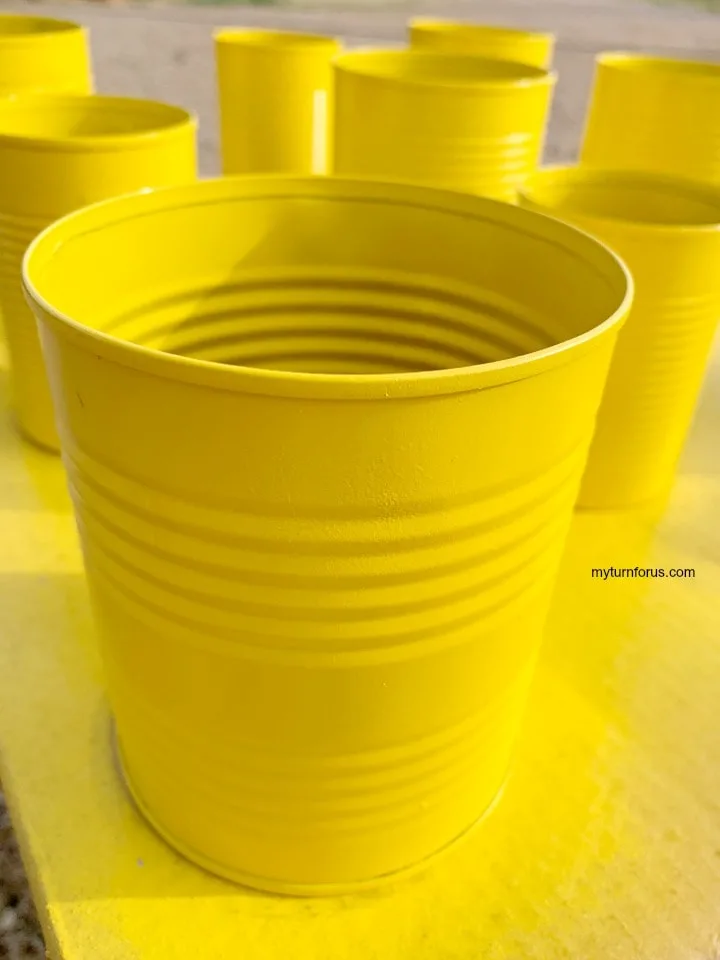
Using a Drill and a small bit, drill 8 to 10 small holes in the bottom of all of your recycled vegetable cans for drainage. Place outside on cardboard or newspaper and paint all the cans with your choice of color or colors. Allow to dry completely then add two or three coats of spray paint, giving them time to dry between each coat.
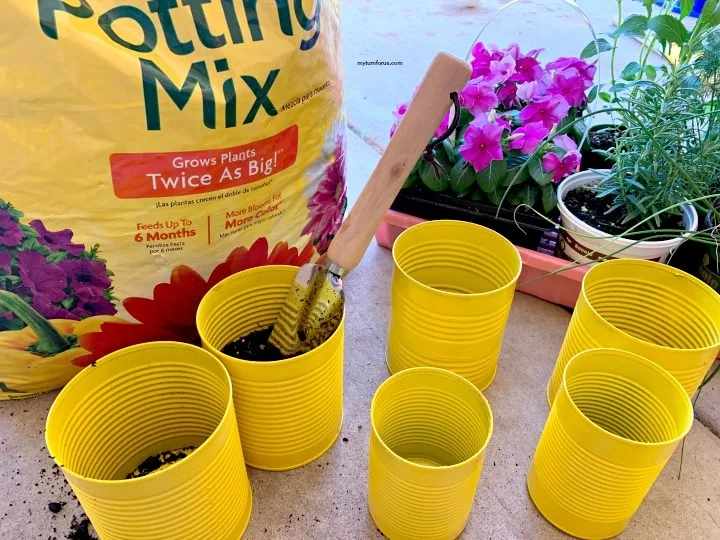
Gather your potting soil, herb plants, and completely dry painted cans together outside. You could do it inside but if you are like me and make a big mess potting plants then you might wish to be outside.
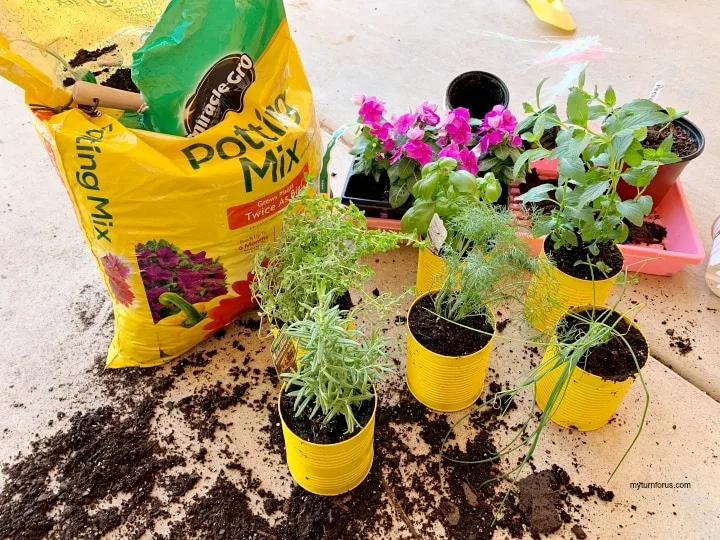
Plant a different herb plant in each of the recycled cans. Yep, we made a mess and as you probably guessed from the little hand in one of the finished pictures, I had a little helper. My sweet little granddaughter who is 2, absolutely loved helping with this project. She still continues to smell the flowers and herbs.
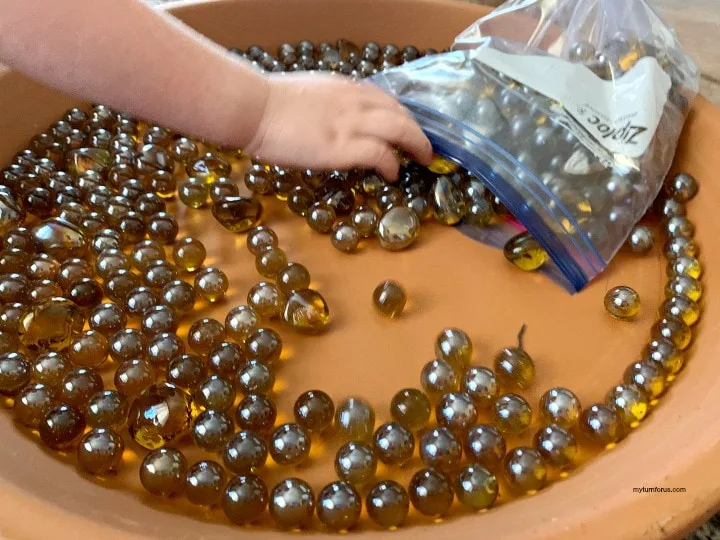
Add the gems or marbles to your terra cotta dish to completely cover the bottom. And this is a way to insure the herb plants will set up from the bottom so they can properly drain. Also, you water your herb plants by filling up the dish and allowing to take up as much water as they need.
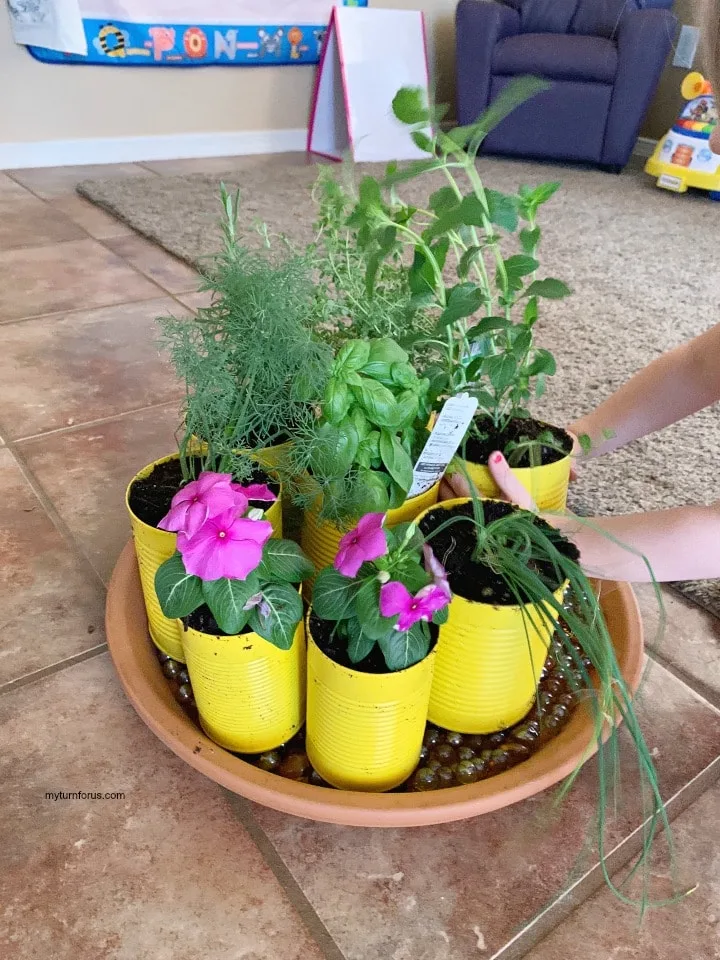
Place all your potted herb plants onto the marbles/gems in the terra cotta dish to make this compact indoor herb garden.

Tie a wide ribbon around all the herb pots ending with a big bow. This will help keep the pots together when you are moving it and of course, makes it so appealing. Label each of the different herbs with an herb marker.
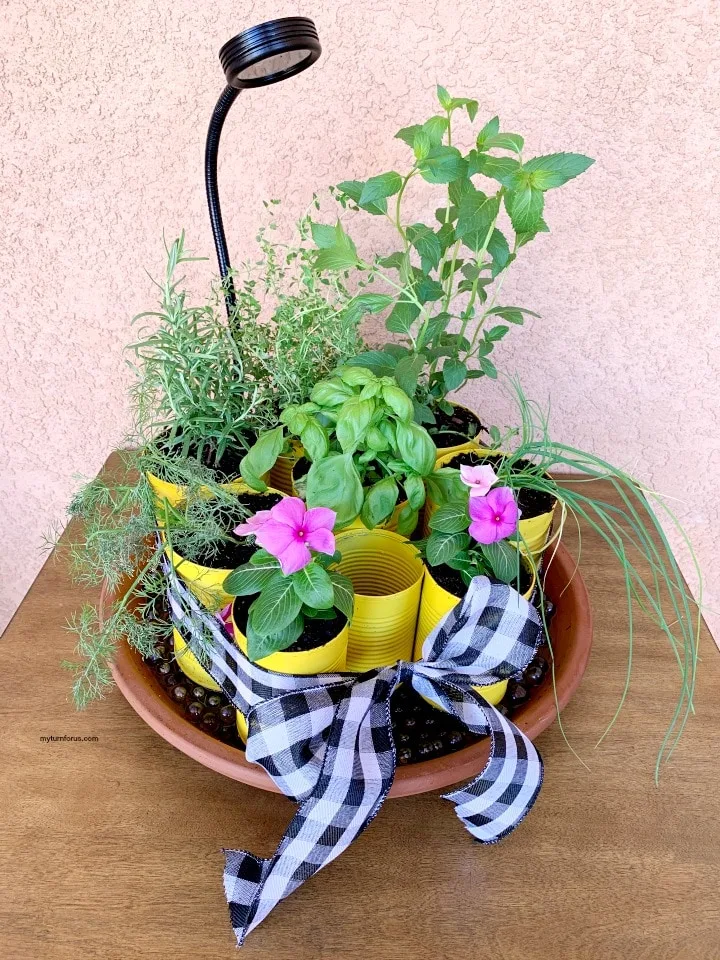
Then clip your herb grow light to the back and bend it so all the plants will get light. And this herb grow light that we choose has a built in timer so it is totally fuss free. But if you are planning on placing the little herb garden outside, then of course you will not need this light.
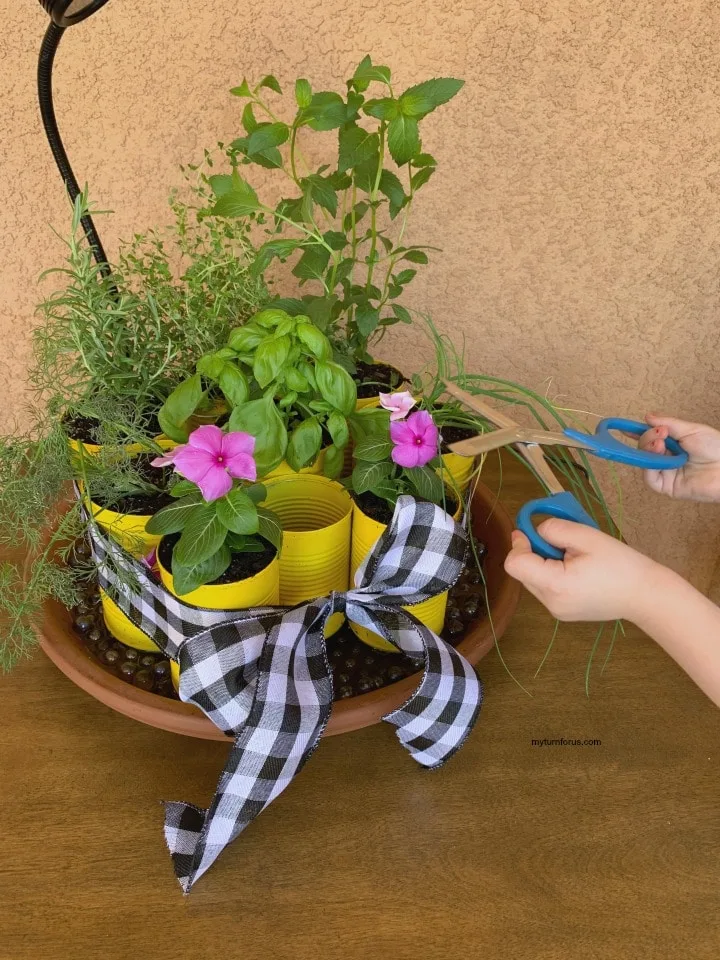
Place your DIY Herb Garden on a countertop and fill the dish with water. And you can cut the herbs as you need them. But just an important point, be sure to keep the herbs trimmed and they will be happier and healthier. Trimmed herbs thrive! Add more water as needed.
NOTE: we left one of the cans empty so we could store our herb scissors but you could fill all your cans.
Other Garden Posts you might enjoy:
Click HERE to save this cute Indoor Herb Garden Kit to Pinterest
DIY indoor herb garden kit with grow light
Equipment
- Drill with small drill bit
Ingredients
- 16 ″ terra cotta saucer we found ours at Lowes Hardware store
- Glass Gems or Marbles
- 8 or 9 recycled empty food cans we used 6-28oz sizes and 3- 14 oz sizes
- Spray Paint in color of your choice we used Canary Yellow
- Good Potting Soil
- Choice of Herb plants such as basil, oregano, chives, thyme, parsley, dill, and Rosemary. And maybe a couple small flowers.
- Wide Ribbon we used Buffalo Plaid
- Small Herb Scissors
- Herb Plant Markers
- Small Grow Light that clips with a built in timer
Instructions
- Using a drill with a small bit drill, 8 to 10 small holes in the bottom of all of your recycled vegetable cans.
- Place outside on cardboard or newspaper and spray paint with your choice of color. Allow to dry complete and add two or three coats of spray, giving them time to dry between each coat.
- Gather your potting soil, herb plants and completely dry painted cans together outside. You could do it inside but if you are like me and make a big mess potting plants then you might wish to be outside.
- Plant a different herb plant in each of the recycled cans.
- Add the gems or marbles to your terra cotta dish to completely cover the bottom. And this a way to insure the herb plants will set up from the bottom so they can properly drain. Also you water your herb plants by filling the dish and allowing to take as much water as they need.
- Place all your potted herb plants onto the marbles in the terra cotta dish for to make this compact indoor herb garden.
- Tie a wide ribbon around all the herb pots ending with a big bow.
- Then clip your herb grow light to the back and bend it so all the plants will get light. We used a grow light with a built in timer to make this herb garden fuss free. But if you are planning on placing the little herb garden outside, then of course you will not need the light.
- Place your DIY Herb Garden on a countertop and fill the dish with water. And you can cut the herbs as you need them. And just a point, be sure to keep the herbs trimmed and they will be happier and healthier. Trimmed herbs thrive! Add more water as needed.


