DIY Cheap Cutting Boards or Wooden Carving Board
Make these cheap cutting boards or serving trays in an afternoon. These cool cutting boards also can be used as a wooden carving board. This is one of the easiest DIY Wood Cutting boards ideas that we know.
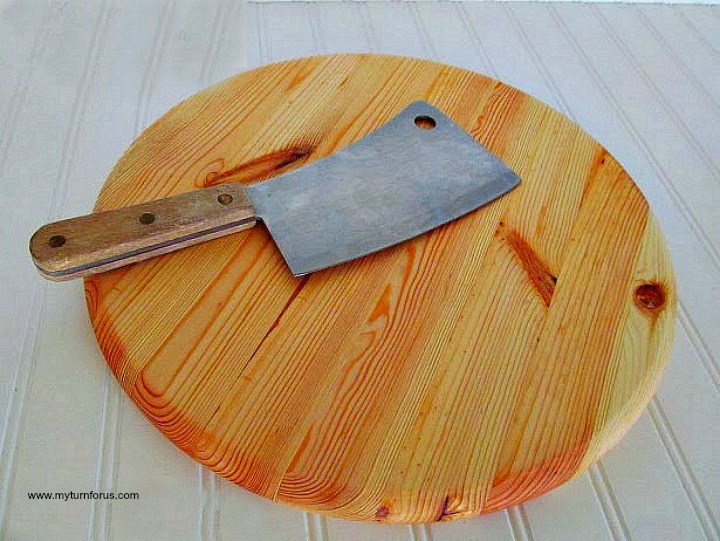
We have been shopping around for a new thick wooden carving board but the price has turned me off. We wanted a cool cutting board for vegetables but didn’t wish to drop a fortune on a carving board. Yes, we want a couple of cheap cutting boards.
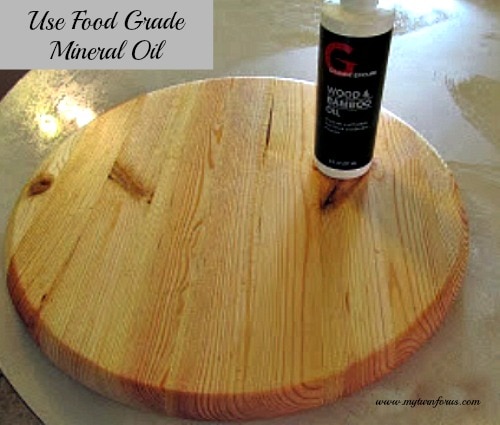
We sanded them to a smooth finish and purchased a food-safe mineral oil. We rubbed them with mineral oil allow the oil to penetrate the wood a day or so between applications.
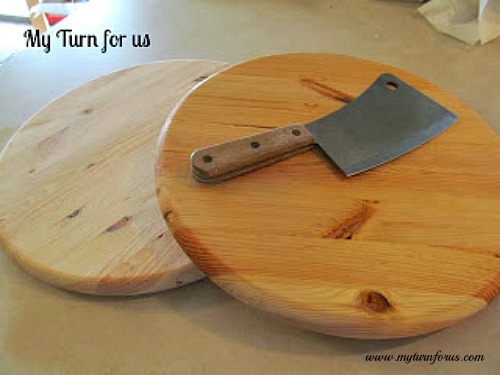
See the difference before and after the application of mineral oil? It needs to be reapplied every few months depending on how much you use and wash your boards.
Materials needed for these Cool Cutting Boards:
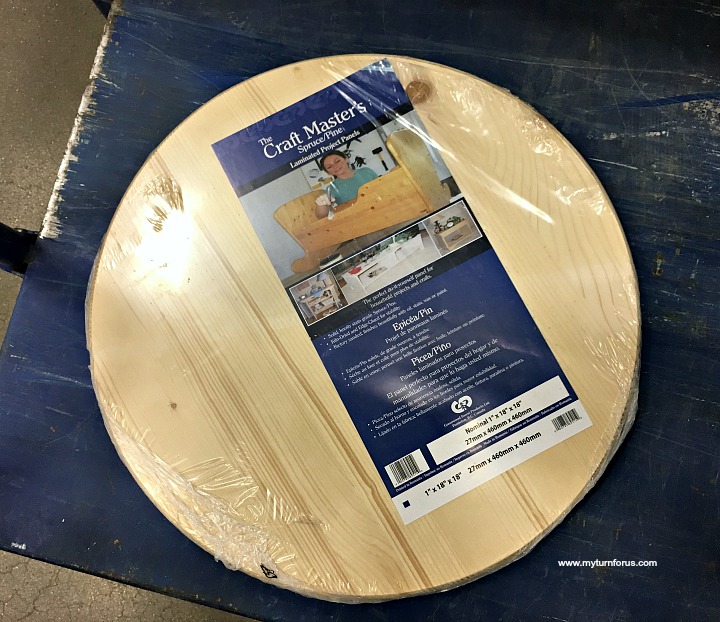
- 15-18 inch unfinished wood round, find them here in case your local hardware store doesn’t have them (just make sure they are unfinished with no wood stains since they will be used for food, see note below**)
- Fine Grain Sandpaper for wood
- Steel Wool
- Food Safe Mineral Oil
- Cloth for applying oil or you could use an old t-shirt or washcloth
- Antibacterial Dishwashing soap
- Dishwashing brush
Directions:
- Sand the boards until smooth
- Use steel wool to go over the entire board to bring it to a smooth finish
- Wash with hot water, soap and scrub well with a dishwashing brush
- Apply mineral oil with a clean cloth several times to the wooden carving board waiting for it to completely absorb or dry between coats.
*Mineral oil is food safe and brings out the gorgeous colors of the wood. After each use, wash with hot water, scrub using a dishwashing brush and antibacterial dishwashing soap. Dry well, reapply mineral oil only as needed about once every couple months.
**These cheap cutting boards are pine and I have read conflicting reports on using pine for cutting boards, the only negative is that pine is softer and may not hold up to long-term use of knives. The positive is that pine can repel bacteria. Not sure if either report is correct but at this price, I can replace these cool cutting boards when needed and it will not break the bank.
Other Home Improvement:
- How to Make your Front Porch Amazing
- How to Organize Your pantry like a Pro
- Indoor Herb Garden
- 6 Kitchen Gadgets that will change your cooking game
Click HERE to save these instructions for DIY Wood Cutting boards to Pinterest

Equipment
Ingredients
- Fine Grain Sandpaper for wood
- Steel Wool
- Food Safe Mineral Oil
- Cloth for applying oil or you could use an old t-shirt or washcloth
- Antibacterial Dishwashing soap
- Dishwashing brush
Instructions
- Sand the boards until smooth
- Use steel wool to go over the entire board to bring it to a smooth finish
- Wash with hot water, soap and scrub well with a dishwashing brush
- Apply mineral oil with a clean cloth several times to the wooden carving board waiting for it to completely absorb or dry between coats.
Notes




I never knew what mineral oil was. Whatever it is, it sure made your cutting boards look great! Very creative and frugal idea!!!
You’re so smart! I've looked at them many times and wondered how I could use them.
Gosh! I saw those at Home Depot the other day and didn't give them a second thought. You are so smart, and the cutting board looks great with the mineral oil applied.
Hi Evelyn,
I made an executive decision that your cutting board was food related and left it at the party, it is a great idea! Thanks so much for sharing with Full Plate Thursday and have a very Merry Christmas!
Miz Helen
i love this.. i never thought to use those circles to make a cutting board. i may make one and tunr it into a lazy susan for our kitchen table. i also had no i diea it was just mineral oil you put on them! thanks for linking up with the all things pretty party.
What a clever, frugal idea! The mineral oil is a great finish. They're beautiful!
great idea! And the rounds are prettier than rectangles.
Gidday mate! What a fantastic idea! I can't wait to go check out my local hardware (without the kids) to see if they have these. I never seem to have enough of chopping boards. Hope you have a fantastic new year lovey. I'm featuring this idea at tomorrow's party. Always a pleasure to have you link up!
Anne xx
Keep a spray bottle of white vinegar (undiluted) by your sink. Any time you wash a cutting board, then spray it down with the vinegar and wash off with clear, cool water. You'll have disinfected it as well as if you'd done it with bleach! And, when you bring in veggies, fruit, etc., wash briefly in lukewarm, soapy water. Rinse, spray down with the vinegar, rinse again, and let dry. You'll have disinfected them from anyone who picked up that particular piece with germs on their hands!!
Wow awesome idea that for inexpensive cutting boards. It’s really nice to have one for my kitchen